Last time I wrote about iteration 1 of the Output board, which more or less failed. I managed to burn the Red component of the new RGB LED and the new passive buzzer didn’t make any sound. I also introduced the BMI270 IMU, which could serve two functions: as accelerometer for planes equipped with an LX8000/LX9000 computer and a replacement for the pushbutton. I fixed this PCBA and visited Aero Friedrichshafen, where I got very interesting feedback from my friends at Idaflieg.
Fixing my mistakes
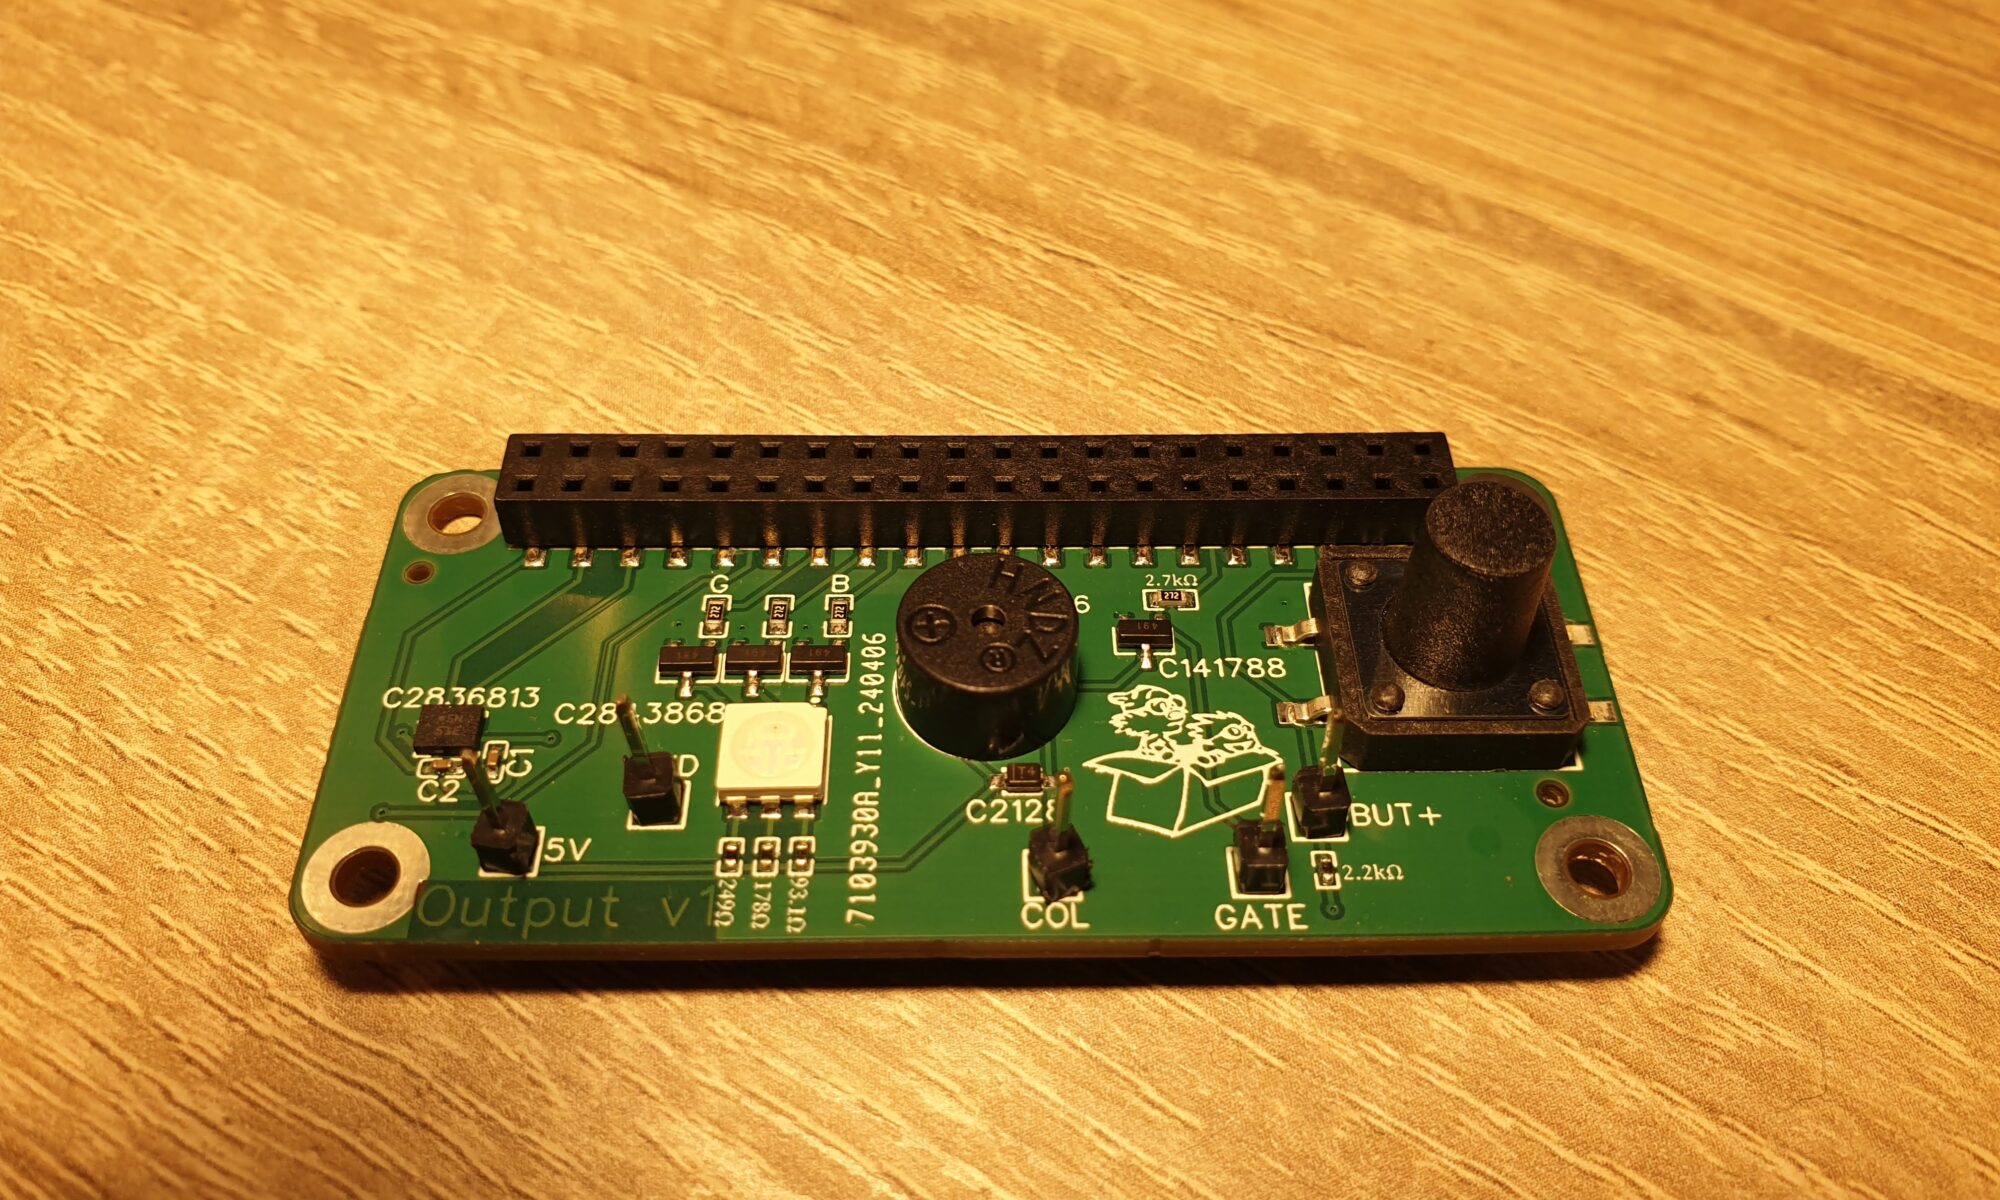
First, I fixed my mistakes in the PCBA. With the help of a kind colleague, I learnt about the voltage drop across LEDs. The RGB LED now works fine and all components shine equally as bright. Indoors it is visible through the PLA housing, but it might not work in bright sunlight. We’ll see.
The buzzer now works too. I am working on some software errors, but the hardware works. In software, I’m using the timerfd mechanism combined with epoll to turn PWM on and off. Updating the timer does not appear to work, so I’ll probably write a small test program to see what I’m missing. While I use Test Driven Development for most of my code, I find it difficult to test code like this with side-effects.
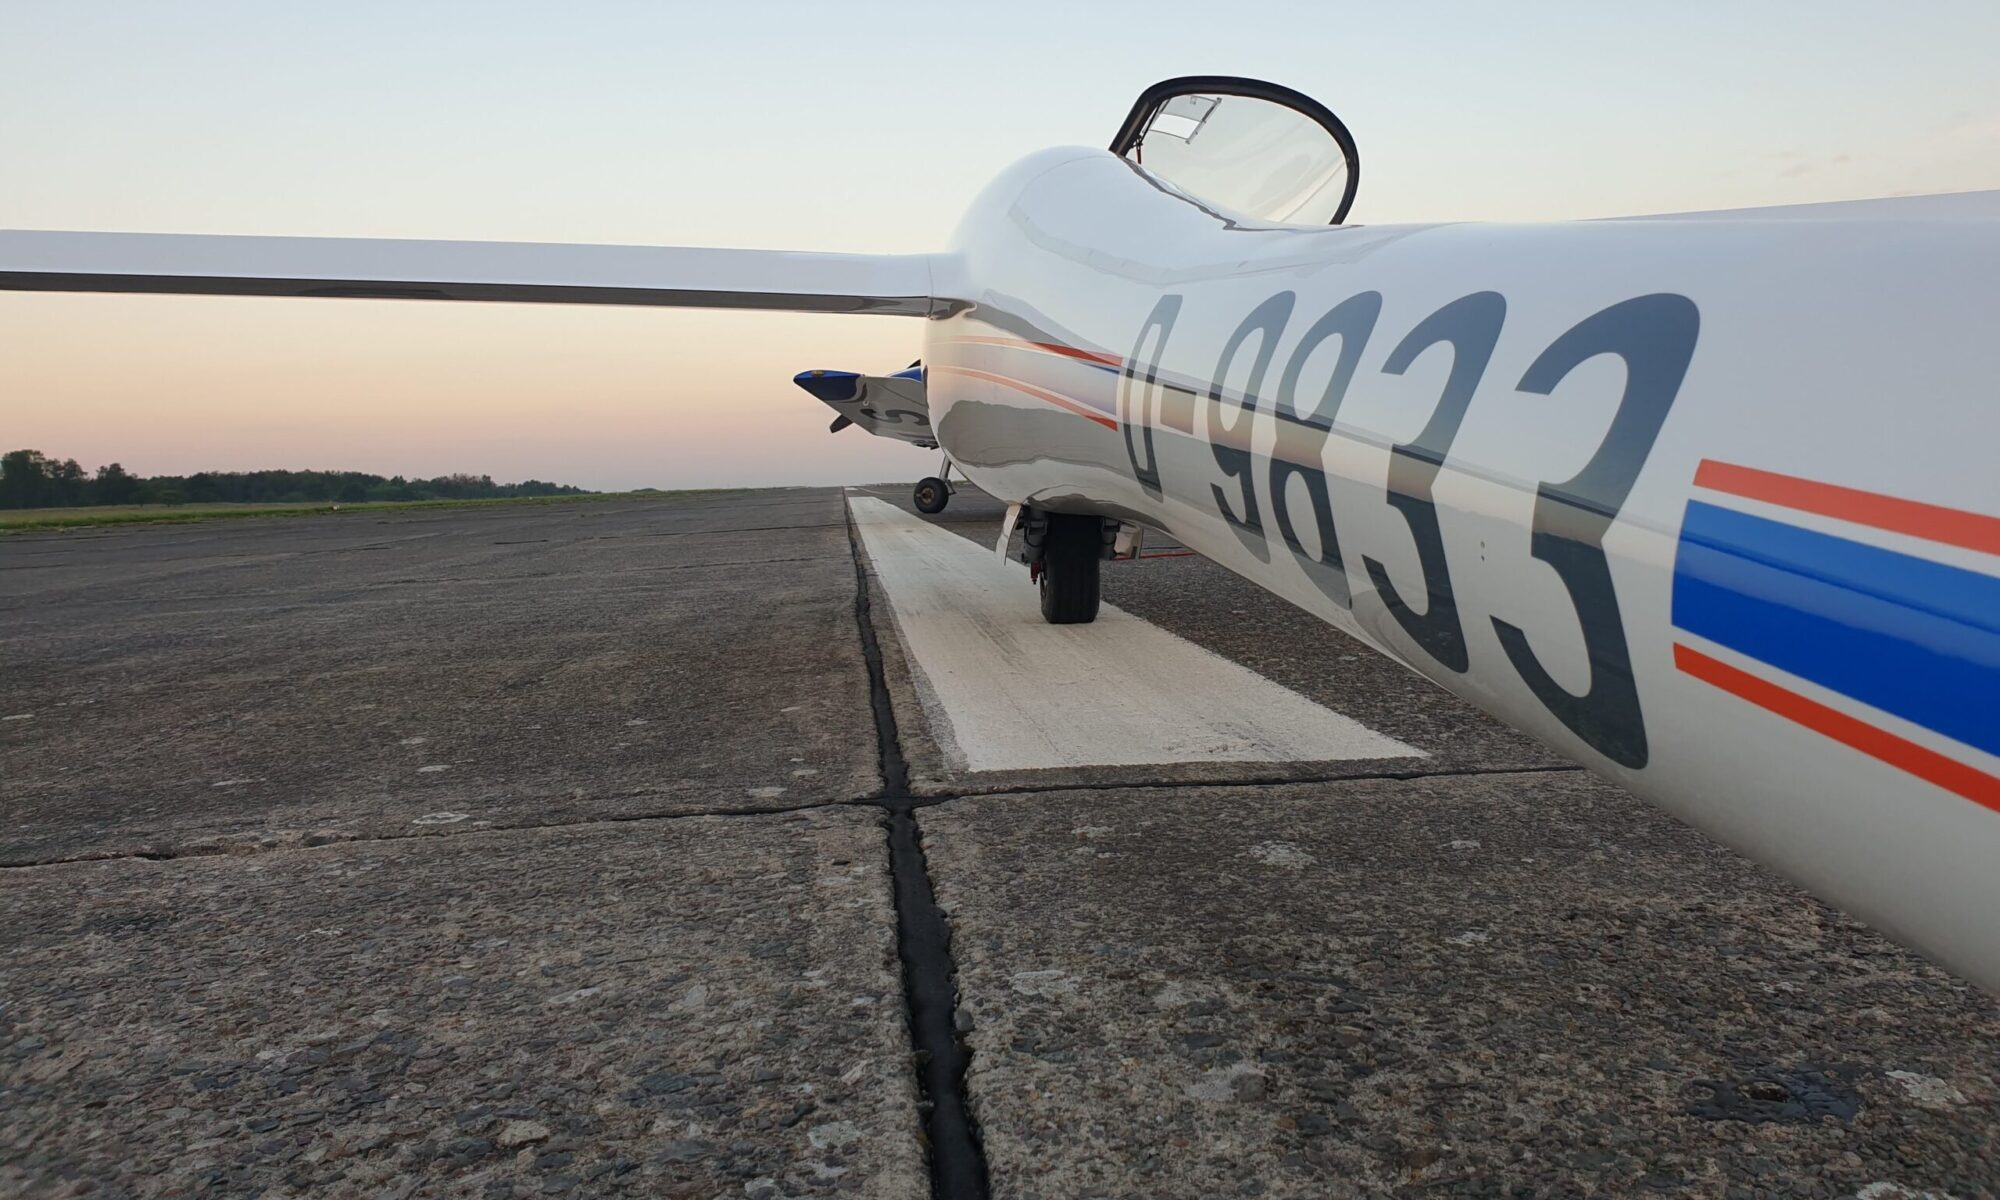
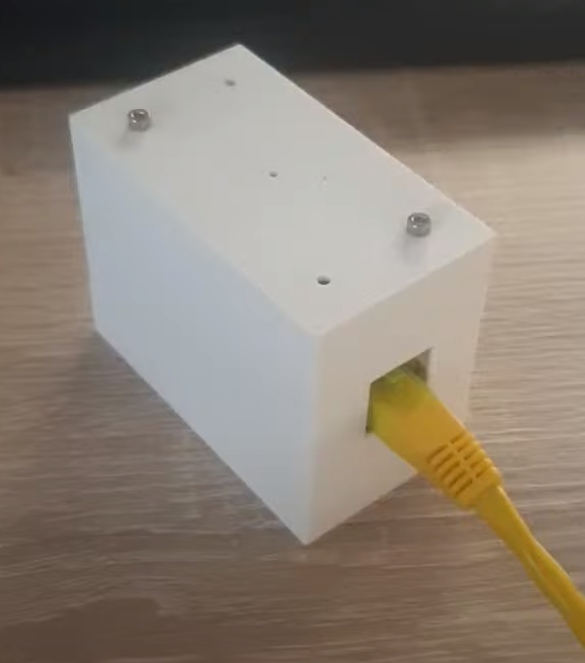
The enclosure now also works, and I took that opportunity to bring my creation to Aero Friedrichshafen in order to show it and get feedback.
Feedback
So I took my new creation to the Aero. I met up with some friends from Idaflieg to proudly show the progress on my project and received some feedback.
The first and most important feedback was: during the flight the pilot should be assumed to be with both hands on the stick. This means I cannot ask them to use a PCB-mounted button or the IMU to mark when the airplane stalls. There should be a button on the stick. I can connect this with long wires and screw-terminals to the PCBA, but this creates new problems. Since I’m now connecting something to a primary flight control, I have to ensure that I do not ever prevent the pilot from using that control. The wires involved cannot restrict movement, and they may not move everywhere during inverted flight. I have to think of a way to connect the button to the stick in a way that does not obstruct the measuring tape that Idaflieg pilots also use during the same flight. This will take some thoughts.
The second piece of feedback was that the box may not be taped to the top of the instrument panel. This was my initial plan, but the pilots clearly stated that this obstructs the view of the pilot and is not safe for inverted flight. Instead, I have to prepare my enclosure for mounting in a standard 57mm hole in the instrument panel. With an adapter I can also mount it in 80mm holes if that works better. This means the enclosure should be larger and should contain either horizontally oriented holes or something that screws can tap into. The experiments with self-tapping are not enough here, I need to have a very secure connection to the instrument panel.
Next steps
Especially for the enclosure it’s back to the drawing board! I decided to abandon creating my enclosures with EasyEDA Pro and started experimenting with OpenSCAD. OpenSCAD is a code-based CAD tool. This requires much more time to create something than for example Fusion360, but it gives me the advantage of including checks with the assert function. This allows me to check that the housing can actually interface with the PCBA stack, something which I had to measure by hand before.
I will have to change the Output PCBA in order to include screw terminals for the – now remote – pushbutton. If the instrument is mounted in the instrument panel, the RGB LED and the buzzer possibly also need to change place. This might involve a large change in some PCBAs, especially if I decide to change the orientation of the PCBA stack.
Before I redesign everything, I want to test one other important aspect: EMC. Since I have something that technically works, I want to fly with the system in order to get more feedback.
With the season well underway, the rain becoming more and more rare, and mountains of inspiration from Aero Friedrichshafen, I’m eager to test my project further and learn more. Let’s get this thing in the air!
One Reply to “Project Hobbes: Part 8 – Feedback”
Comments are closed.